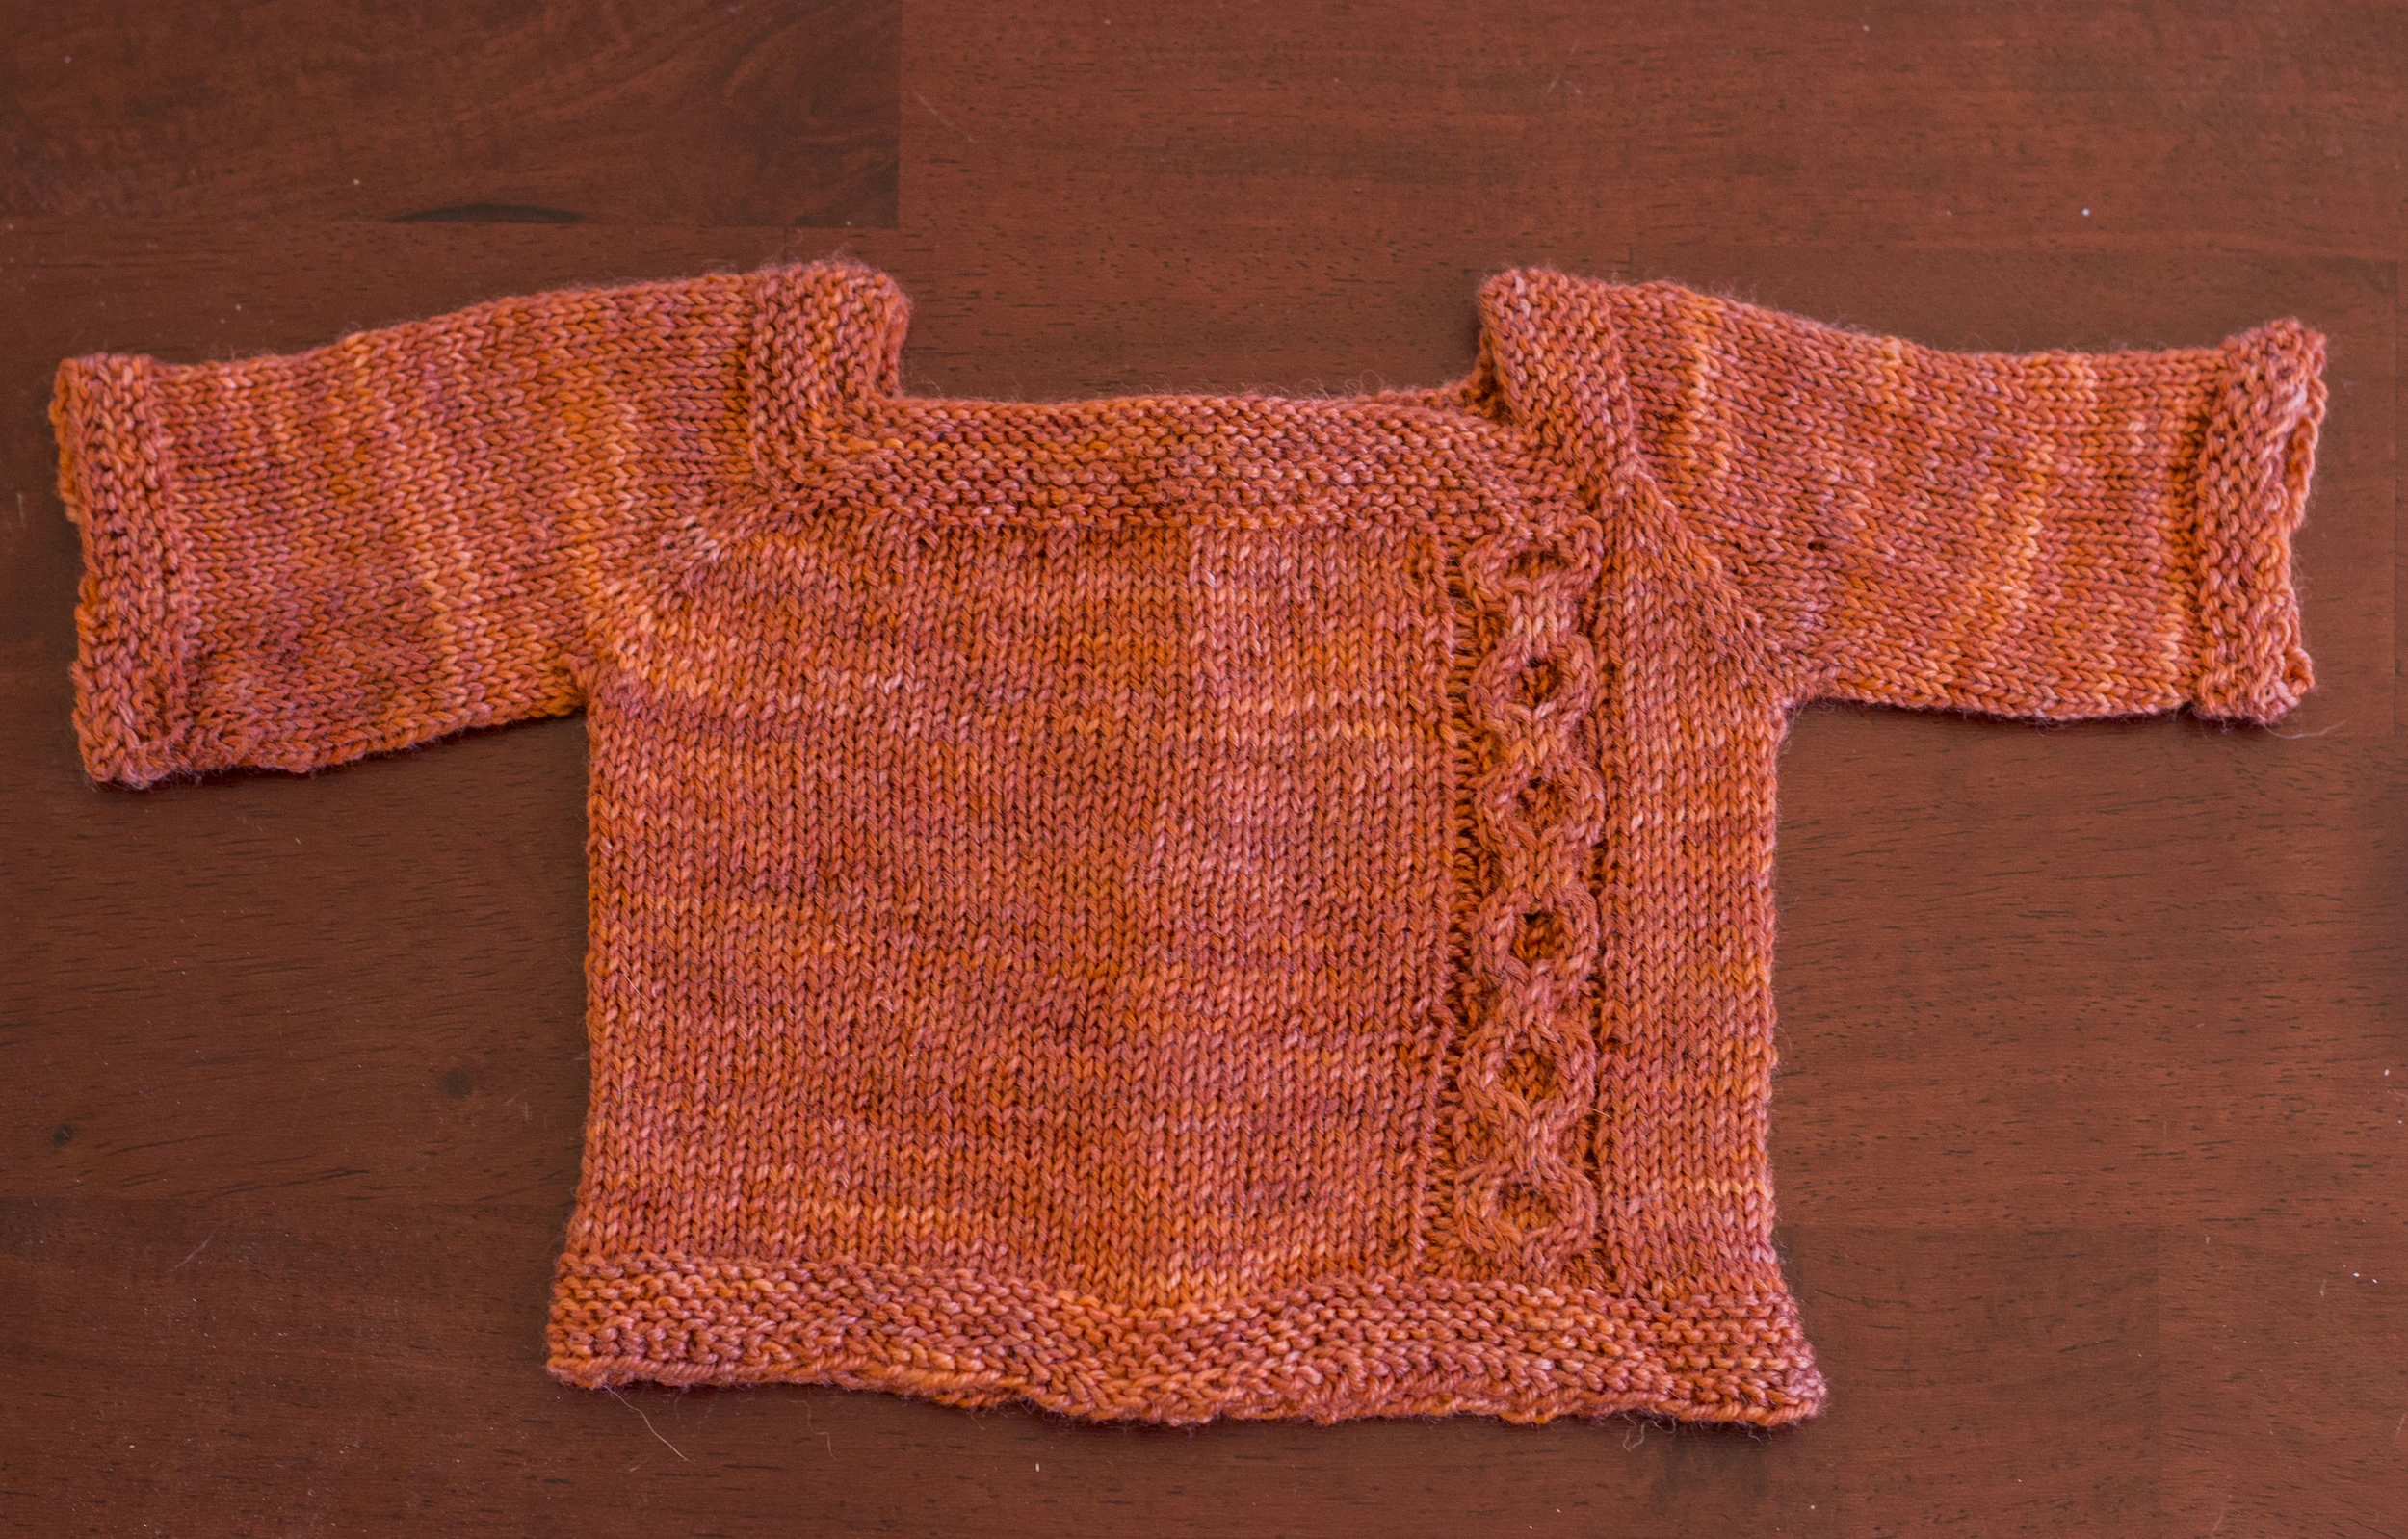
Originally in my development plan, I was going to dye all of the colors I had available out of Norwegian Elkhound for the purpose of creating colorcards for yarn stores. Out of this concept came the idea to create different types of swatches for a book intended for marketing purposes; a side use would be to display all of the beautiful colors on this website for easy viewing purposes. I decided to create a knit swatch, a crochet swatch in double crochet, and a woven swatch made from Schacht's Zoom Loom.
While I already knew how to make the knit swatch out of stockinette (as knitting is my main craft), I had to consult a friend as to what type of swatch would be appropriate for crocheted fabric. (Thanks Erin!) She suggested using the double crochet stitch, as it's commonly used for fabrics and swatches. I was able to learn to do this stitch with my minimal knowledge of crochet with help from the internet (thanks Youtube!), and it proved to be a delightfully fun thing to replicate. The final swatch was for weaving. I purchased the Zoom Loom because I knew it would create the size of the swatch I needed, without the hassle of setting up a larger loom. I consulted a friend to make sure that it would accurately portray the colorways when woven, and she verified that it would. (Thanks Kristen!) It's fantastic that the craft community has such a presence on the internet, as there's little that you can't learn with a simple search.
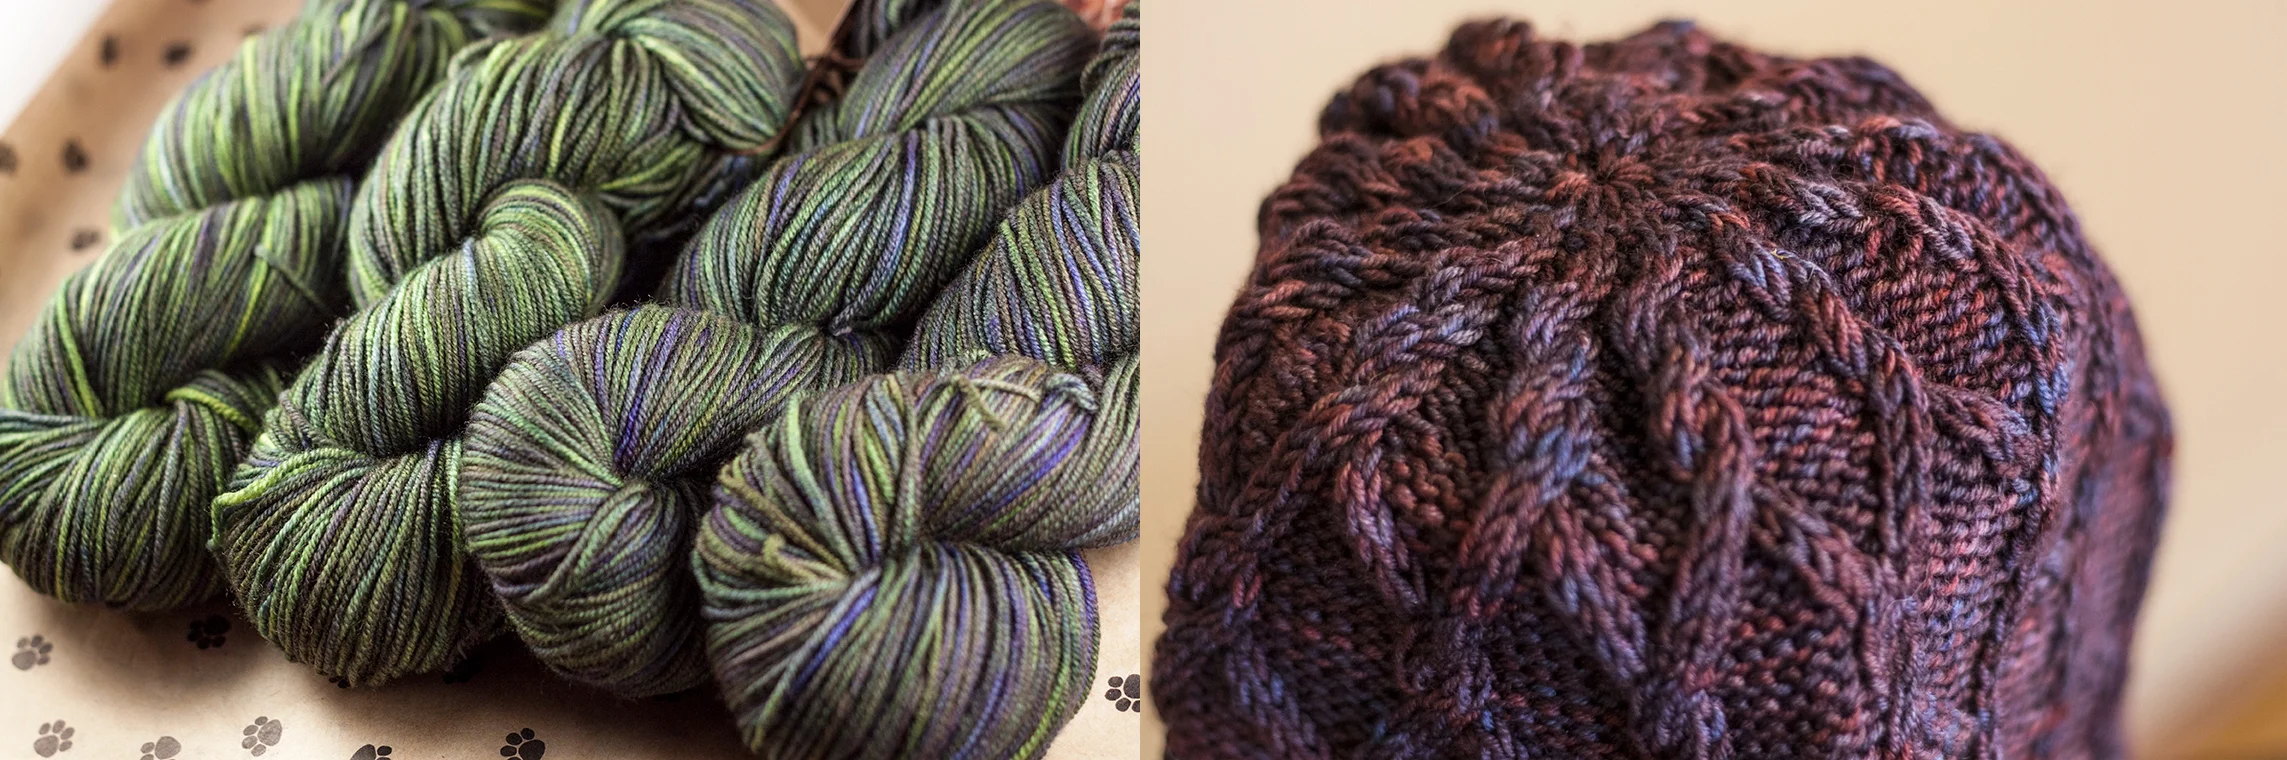
Thus begun the month-long process of knitting, crocheting, and weaving 4in x 4in squares. It was a terrible amount of fun being able to work with all of my own colorways, many for the first time, and I know that the colorways page on this website will be a huge resource for myself, and hopefully other people as well!
The Colorways page is easy to use: decide on a color you'd like to see, click on the colorway, and a lightbox will appear on your screen with the zoomed in image. To easily view other images, you can use the left or right arrows on your keyboard, click the image to view the next, or click on the x at the top right corner to choose another color.
My next project is to create different swatches of the types of yarn bases I carry. This part of the project will take far less time. There are 60 swatches for the colorway section; in comparison, there will be 24 swatches for the bases.
Now that you can see all of the colorways at once, which ones are your favorites?
Reminder: I will have a booth at the Downtown South Bend First Friday: Dog Days of Summer. Come visit me if you can, as I will have a special treat for both you and your pup! More details can be found on the Events page at the top.